If you’re not heading towards warmer weather, you’re probably getting ready to store and winterize your RV. Since putting your rig away for the winter involves much more than shifting it into park and walking away, we’ve got the checklist you need to make sure you come back to a vehicle that’s in tip-top shape.
Remember to give yourself plenty of time to get this winterizing done – it’s always easier while the air still has some warmth to it, rather than when you can see your breath. While none of these steps are difficult, you don’t want to overlook anything or go too fast, because missing something could be detrimental to your RV.
Drain Your Water Supply
This is probably the most important step, since your RV will be subjected to all sorts of temperatures during the off season. Since the vehicle isn’t being heated, water left in the tank will freeze and expand and freeze again, all of which can lead to bursting pipes and flooding. Talk about major structural damage.
First: Drain your holding tanks. This includes the freshwater tank, gray water tank, and black water tank. You can just empty the freshwater one, but gray and black should be flushed out and cleaned thoroughly. After those systems are flushed out, take the contaminated water to a dump site to dispose of it properly.
Second: Go around and shut off the hot and cold faucets, flush the toilet a few times, and empty out the water supply for all water-related appliances.
Third: Dry water lines. Use an air compressor to get that last bit of moisture out of the pipes. While this isn’t always necessary, it definitely doesn’t hurt.
Use RV Antifreeze
Applying antifreeze to your plumbing system prevents it from warping during fluctuating winter temperatures. When you add it, bypass the water heater by using a kit and following the directions – we promise, it’s not difficult, and the kits are easy to find.
After that, put the water line in the antifreeze container. If you haven’t already disconnected the water line, do that and place the end in a container of antifreeze (of which you’ll only need 2-3 gallons if you bypassed the water heater correctly).
Then, turn on the freshwater pump so the antifreeze can flow through the plumbing system. Turn on the faucets inside your RV until they start to run with antifreeze fluid, flush the toilet until the same thing happens, then pour 2 or 3 more cups of antifreeze into the drains and the toilet. Then, turn off the pump and reconnect the water line to the freshwater tank.
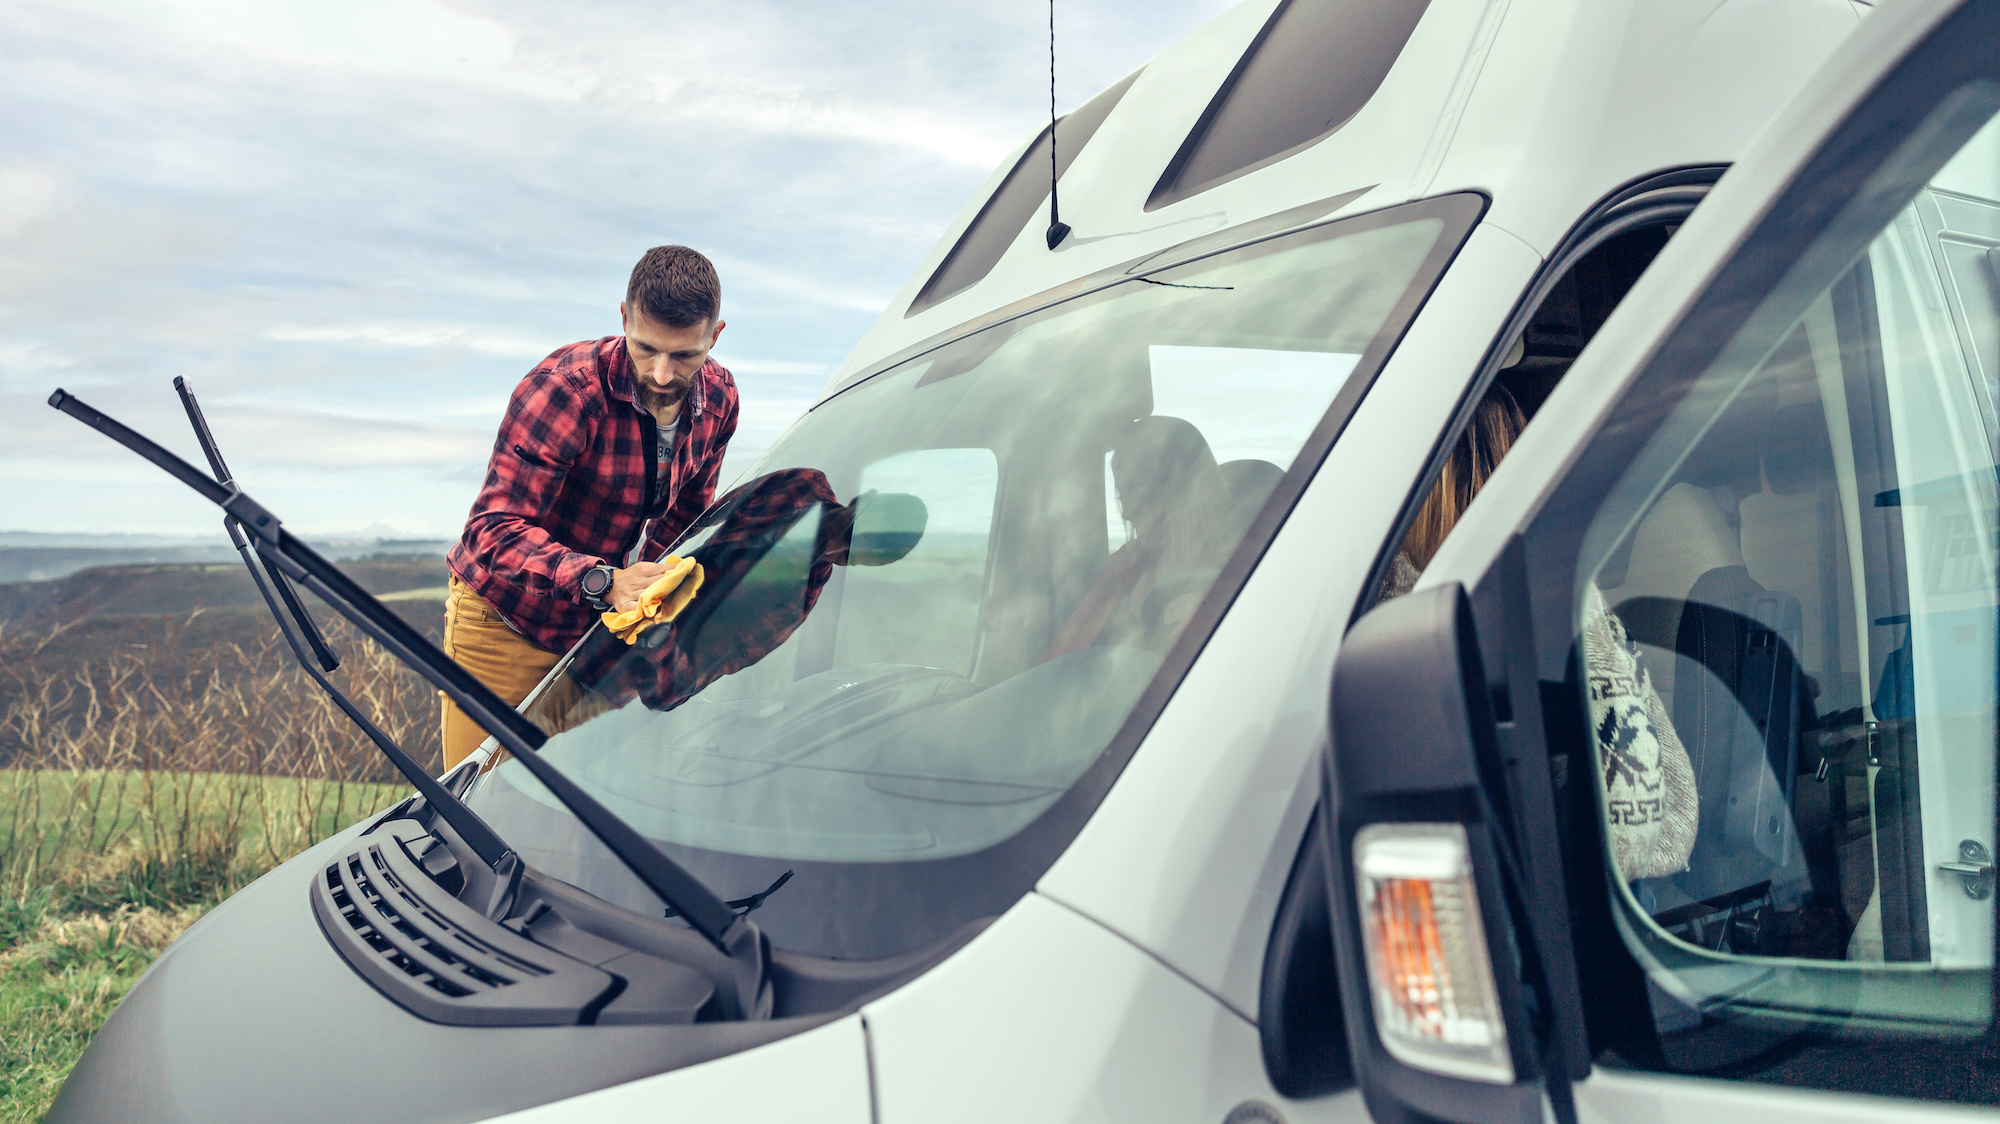
Deep Clean the Interior
Before storing your RV for the winter, everything should be as clean as possible. This means using (figurative) elbow grease to scrub seat covers, countertops, cabinets, the inside of drawers, and the walls. Remove all food items from the RV, along with anything temperature-sensitive.
Guard Against Humidity
You’ve already done the work to prevent major water damage, but there’s still humidity to think about. To prevent mold, mildew, and general dampness, reduce humidity levels in your RV for the winter.
Wipe down the moist areas of the vehicle, including the bathroom, kitchen, and windows. Put a few drying agents in the cupboards, on the windowsills, and in the corners. If you’ve got an especially humid rig, you might want to invest in an RV dehumidifier.
Take Out the Battery
Since the battery is one of the most important pieces of equipment in your RV, it needs to remain protected over the winter. Take it out and store it in a temperature-regulated place for as long as your RV goes unused. Good places to keep it include the basement, a closet, the garage, or a crawl space. For a little extra protection and insulation, wrap it in some blankets.
Cover the Vents
Moving onto the vehicle’s exterior, it’s time to make sure none of the vents are exposed. If they are, things like snow, ice, humidity, and rodents can get in. If vent covers aren’t enough for your peace of mind, add a layer of plastic wrap. This will undoubtedly keep out moisture and pests.
Leave Your RV on Blocks
We’re all aware that RVs are heavy. If the entire weight of the vehicle sits on the wheels for months at a time, your RV could suffer structural issues or tire damage. Instead of letting the weight sit directly on the wheels, set your RV on blocks to distribute the weight evenly during the off-season.
Add RV Skirting and Covers
To keep snow and ice from sneaking into the undercarriage of your RV, install RV skirting around the base and tires. Adding an RV cover is another good idea, as it protects your vehicle against rain, snow, dirt, and wind. If it’s not in the budget to buy a cover this year, crafting your own is pretty simple.
Keep a Log
Now that you’ve completed all the necessary steps to store your RV for the winter, make a log of everything you did. That way, you’ll have an idea of your starting point when it’s time to get the RV back out next summer.
We Hope You Had a Wonderful Season!
It’s always a bummer to see the travel season come to an end, but we take comfort in knowing that time flies and the warm months will be here again before we know it. In the meantime, keep your RV safe by checking off all the items on this handy winterizing checklist.
If you have any questions about the end-of-season process, feel free to reach out to RV Dynasty directly at 765-689-8815. If you don’t have an RV yet and want to start browsing for next season, check out our fleet of brand new and pre-owned vehicles.
